Kiln Drying & Heat sterilization Services for woodworkers, homeowners AND BUILDERS
Faster Drying Without Compromising Quality.
-
Vacuum Kiln Drying
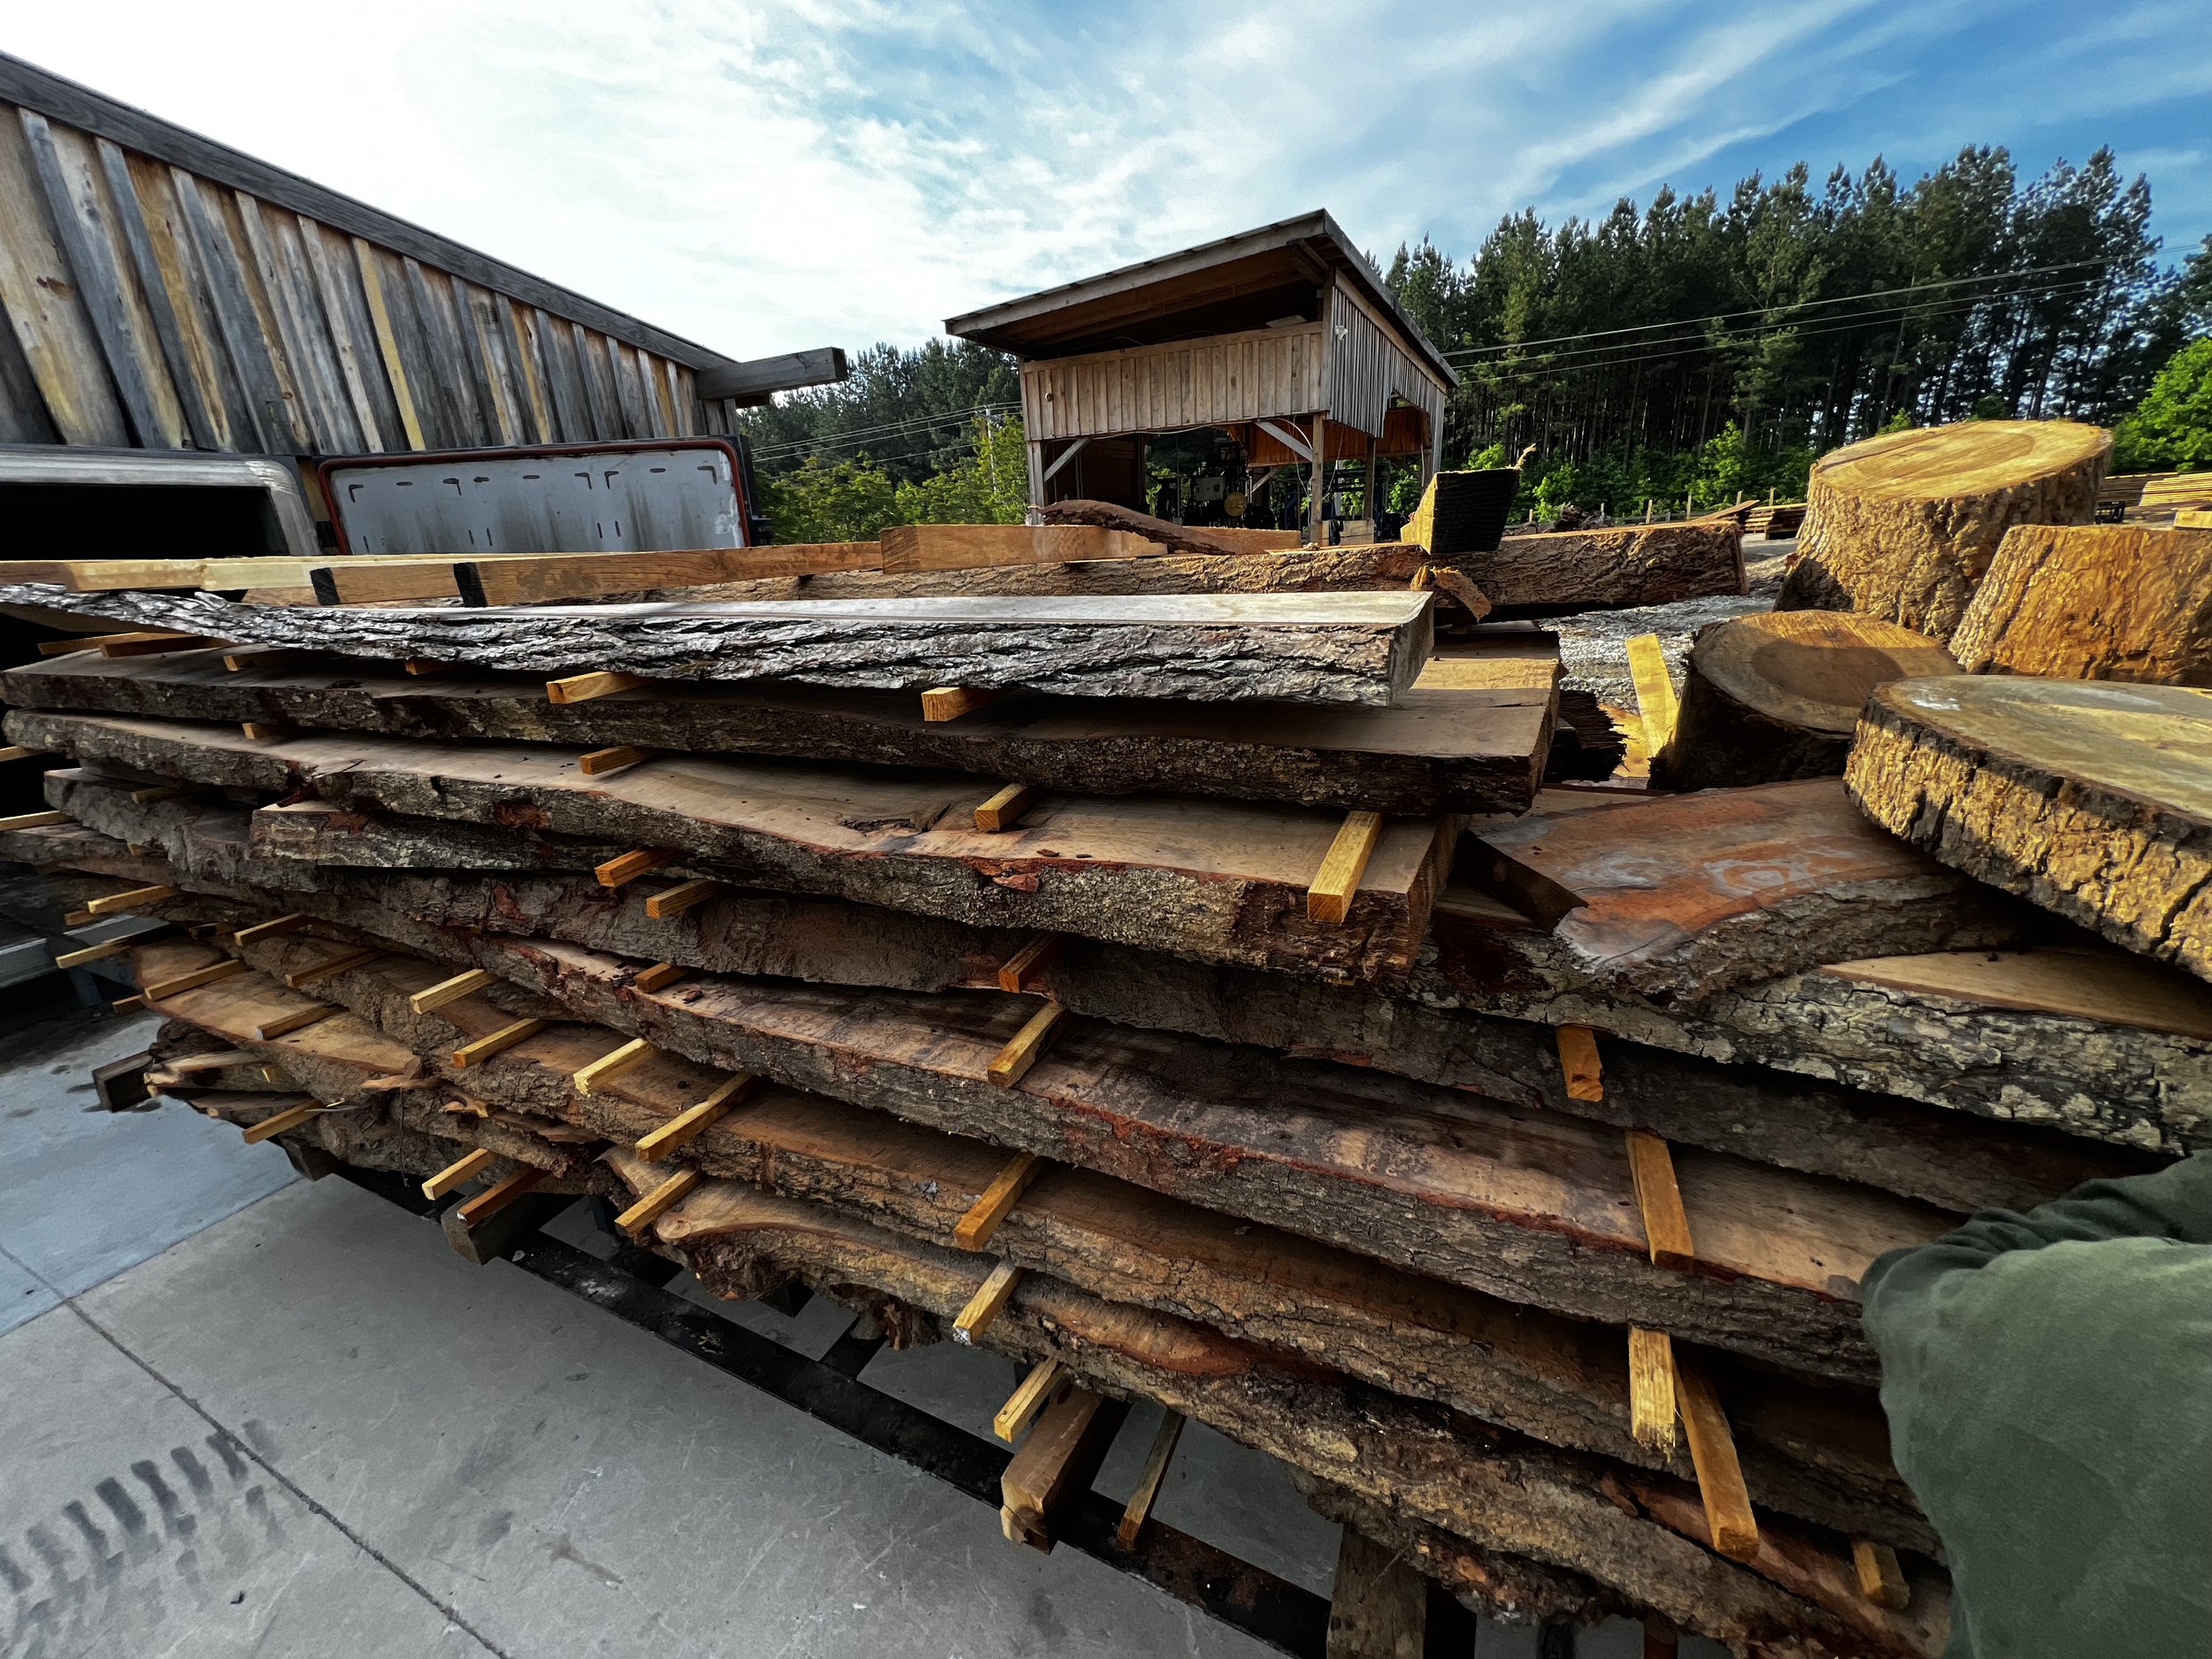
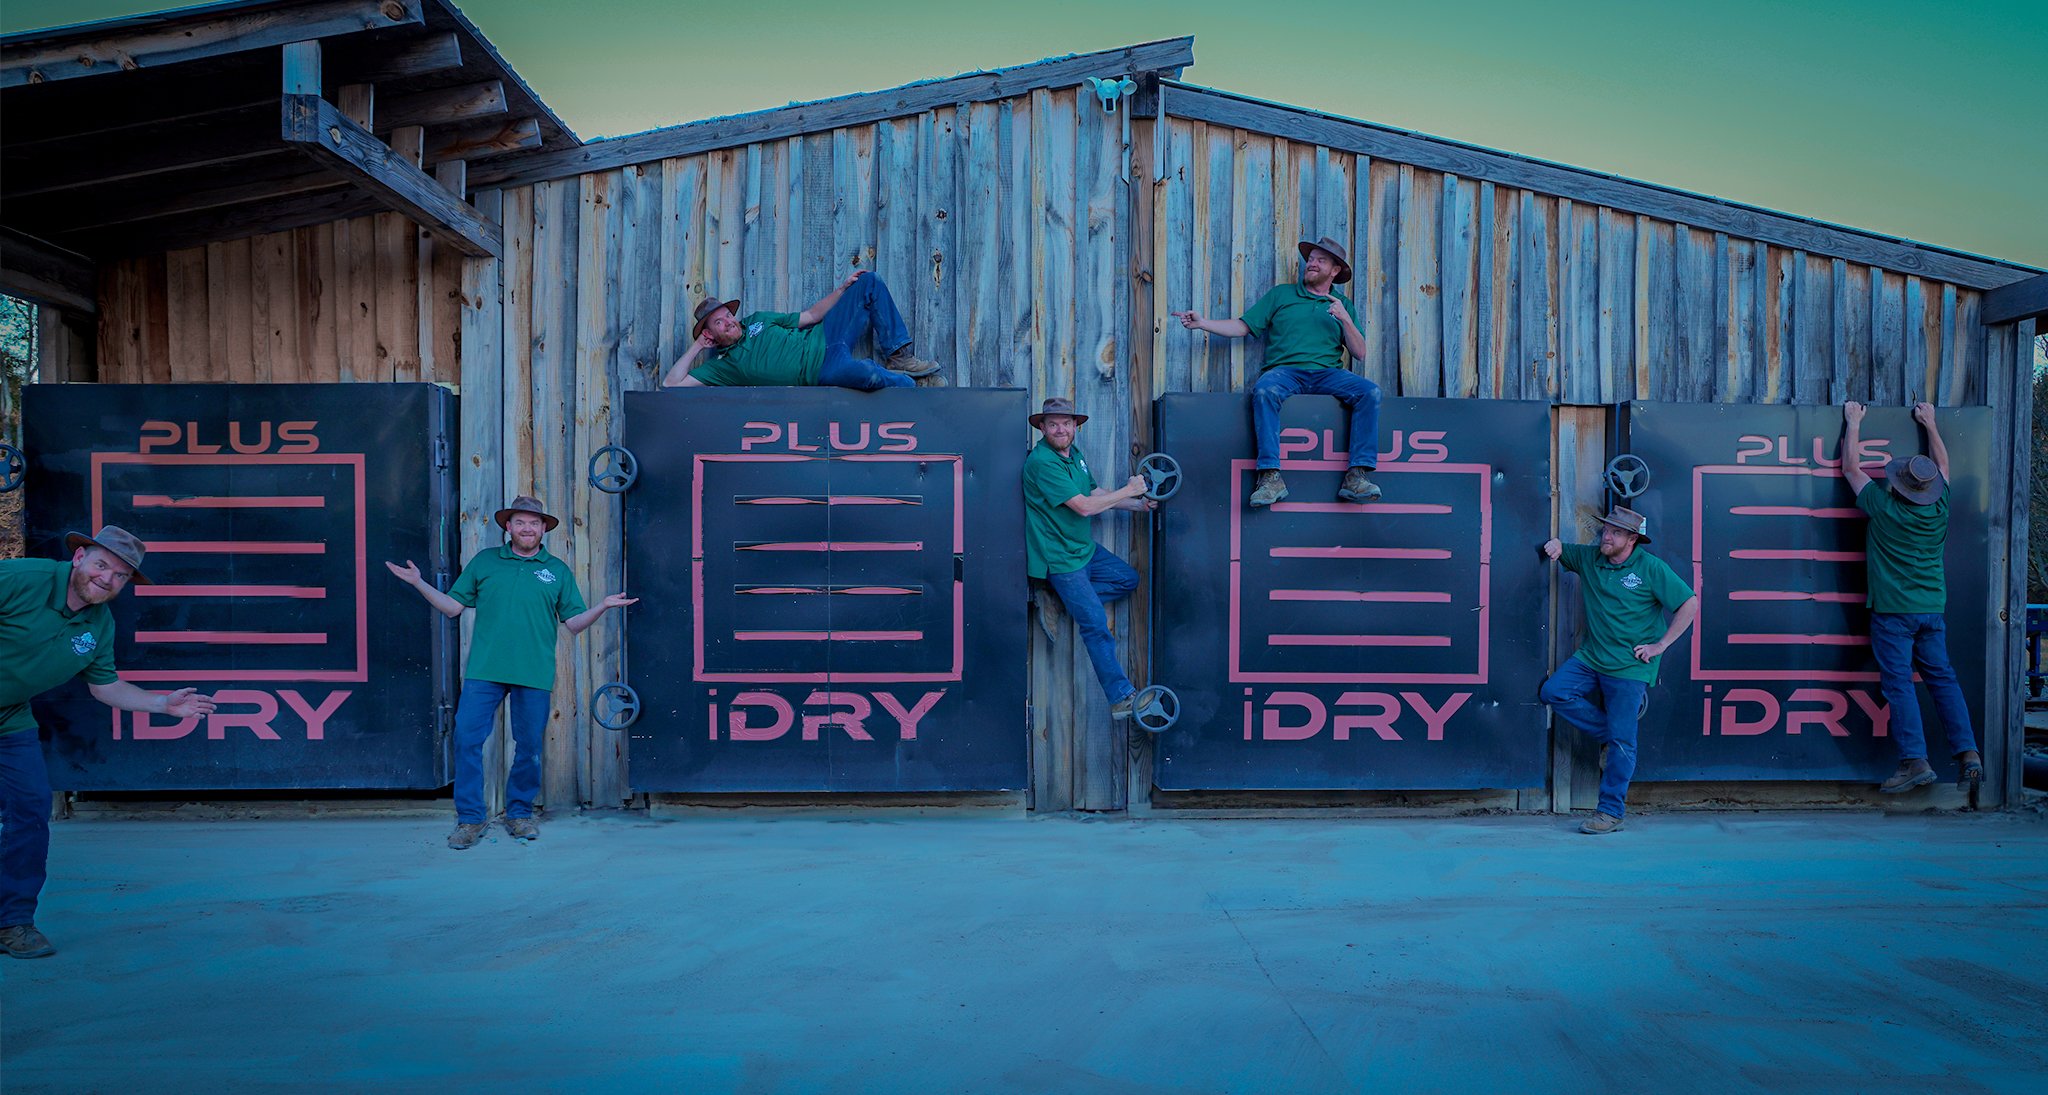
If you have fresh-cut “green” (wet) wood, you will need to dry and sterilize it before using it. Our iDRY vaccum kilns will kill all the bugs, mold and fungus.
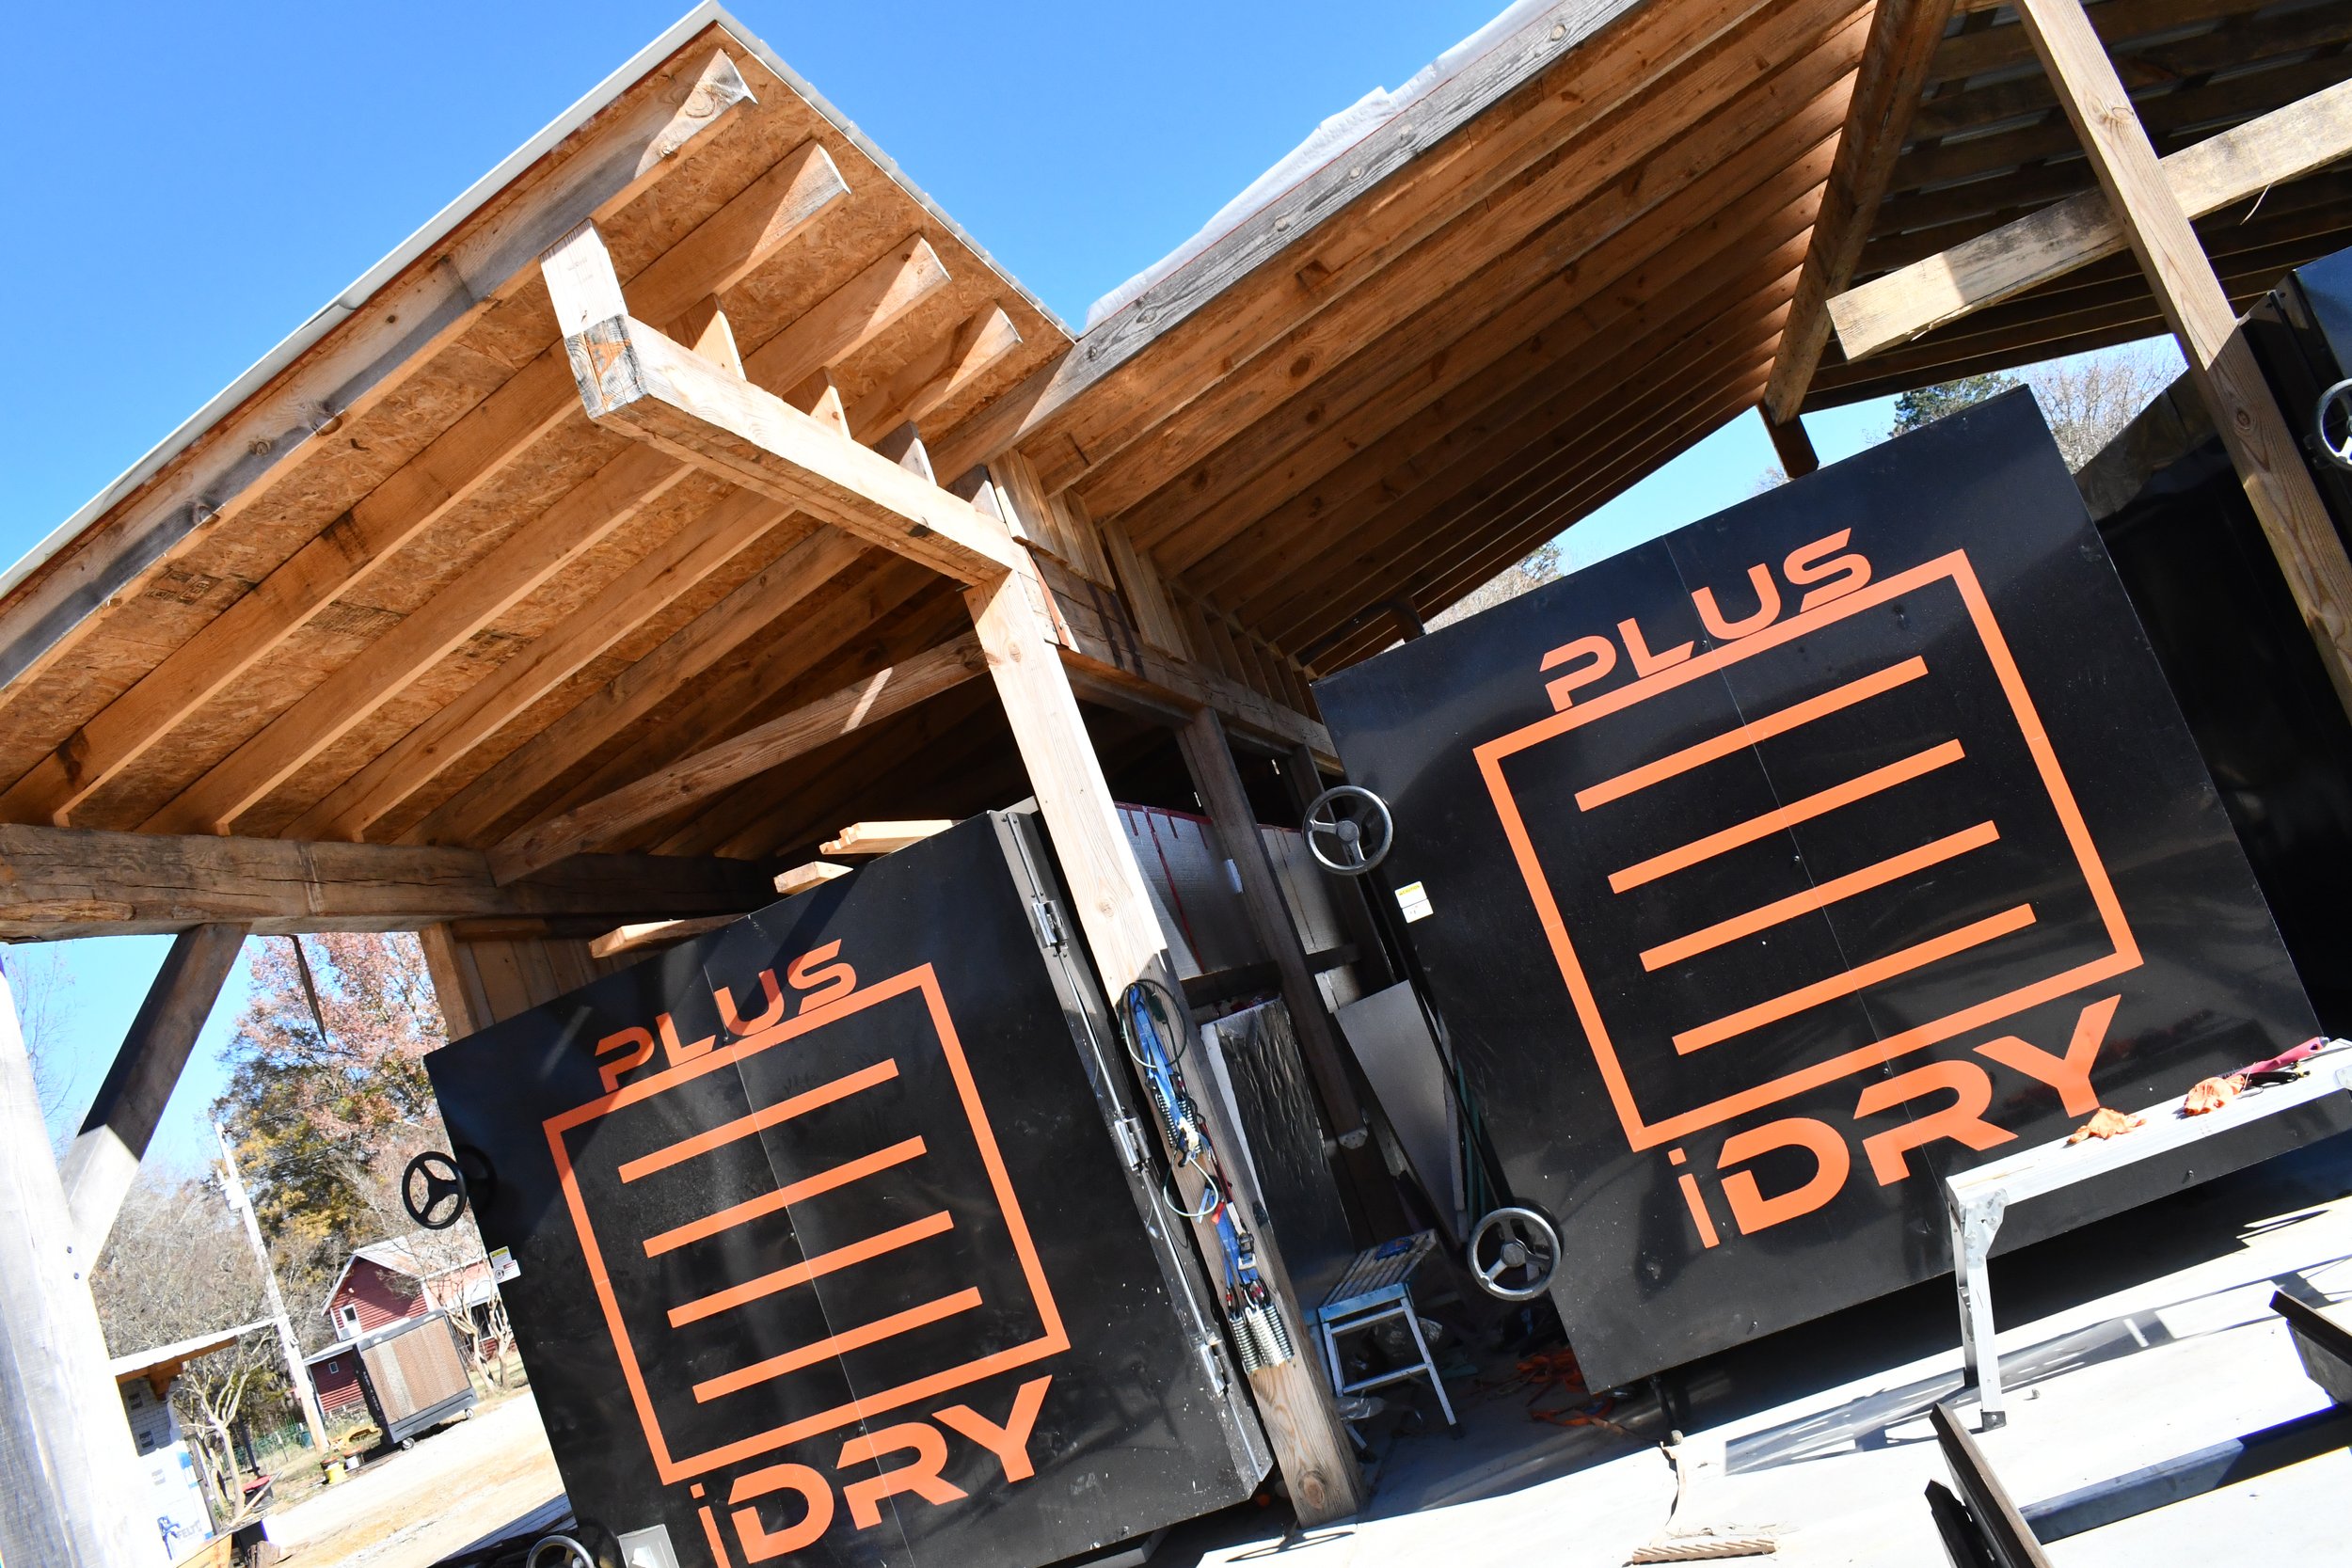
Not only do our iDRY Vacuum Kilns meet the USDA Heat Sterilization Requirements, but they also dry wood 3x to 5x faster than traditional kilns. This means that we can dry your lumber in weeks, not months.
Additionally, vacuum kiln technology is particularly good for drying thick, wide slabs all the way to the core, ensuring the highest quality for your wood projects.

-
Pricing & Max Size
Kiln Drying costs $1 per board foot per week.
Discounts are available for leasing the entire kiln by the day ($500), week ($3,000), or month ($10,000).
Each of our kilns are capable of drying up to 4,000 Board Feet at a time (max-width of 5ft, max-length of 16ft).
We have limited space and the kilns fill up fast, so message us to reserve your spot in line!
DRYING Pricing:
-
Vacuum Kiln Drying Service
$1.00 per board foot capacity used per week
-

High-Heat Sterilization Service
$1.00 per board foot / $75 min
-

Manpower to Stack & Sticker
Includes 1/2 hour labor - $50 per additional manhour
-

Storage
Outside “Air Dry” storage - $50 per month per stack / concrete pad
Covered building dry storage - $150 per month per stack
The Advantages of Kiln Drying
If you’re working with fresh-cut, "green" (wet) wood, it’s essential to dry and sterilize it before use. Our iDRY vacuum kilns are designed to eliminate bugs, mold, and fungus effectively. Our iDRY Vacuum Kilns comply with USDA Heat Sterilization Requirements and dry wood 3 to 5 times faster than traditional kilns. This allows us to process your lumber in weeks rather than months. Furthermore, vacuum kiln technology excels at drying thick, wide slabs through to the core, ensuring top-quality results for your wood projects.
No MOISTURE and no pesky bugs
By carefully controlling both the temperature and humidity, kiln drying effectively reduces the moisture content of the wood to a level that is stable for use and ensures that any potential pests are eradicated. This process is crucial for preventing wood decay and ensuring the longevity and quality of the finished product.
Here's how it works:
Moisture Reduction:
Heating: Wood is placed in a kiln, which is essentially a controlled environment or chamber where the temperature and humidity are carefully regulated.
Air Circulation: Inside the kiln, warm, dry air is circulated around the wood. This warm air helps to evaporate the moisture inside the wood, which is typically in the form of water trapped in the wood's cell structure.
Dehumidification: The kiln is equipped with systems to remove the evaporated moisture from the air, which keeps the drying process efficient and prevents excess humidity from slowing down the drying.
Bug Elimination:
High Temperatures: The temperature inside the kiln can be raised to levels that are lethal to insects and their larvae. For many types of pests, temperatures above 130°F (54°C) can be fatal if sustained for a certain period.
Duration: The kiln drying process is designed to maintain these high temperatures for a sufficient duration to ensure that any bugs or eggs present in the wood are killed. This typically involves heating the wood for several hours or even days, depending on the thickness and type of wood.
“Very happy with my experience at wild edge. Avery is a master at what he does. Answered all of my questions. We had him cut dry and fabricate our mantle and cabinet tops for our new house. It was great because we used one of the feld trees from our lot. Avery‘s work got a great color out of it. And it was a huge mental and he had all the equipment to deal with it. Plus the fact he’s a really nice guy With wood drying kilms what else could you ask for? Anyways we’re real happy and the process was very smooth. Thanks a lot Carl and Audra Potter”
See it to believe it!
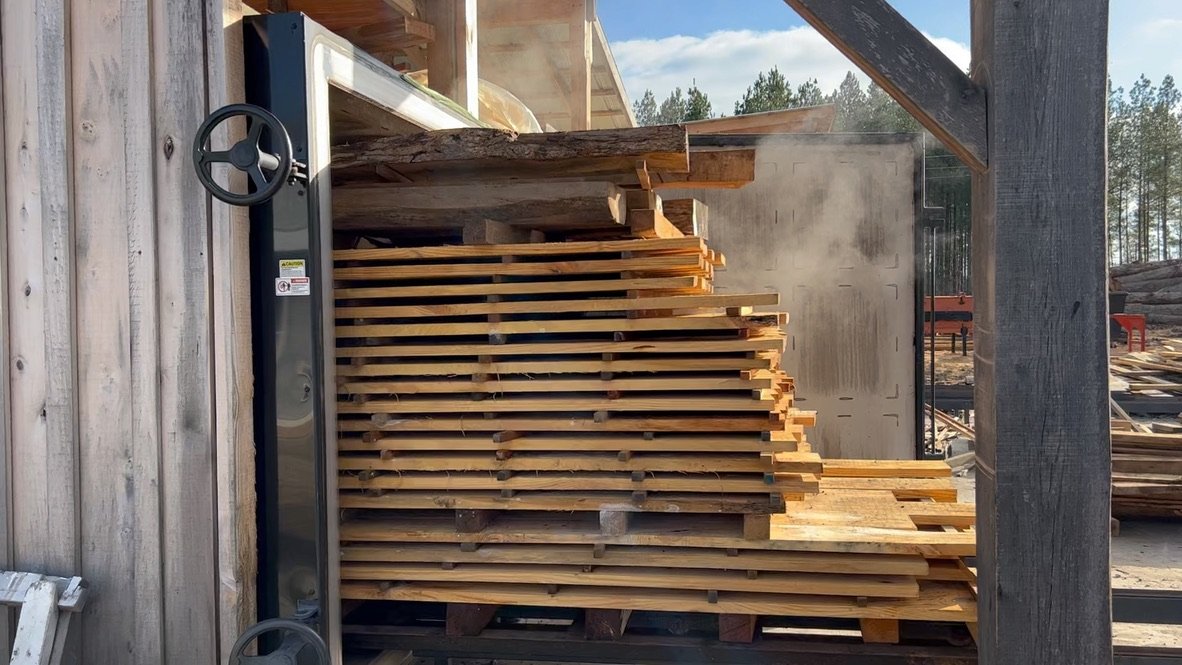
Check out our kiln process!
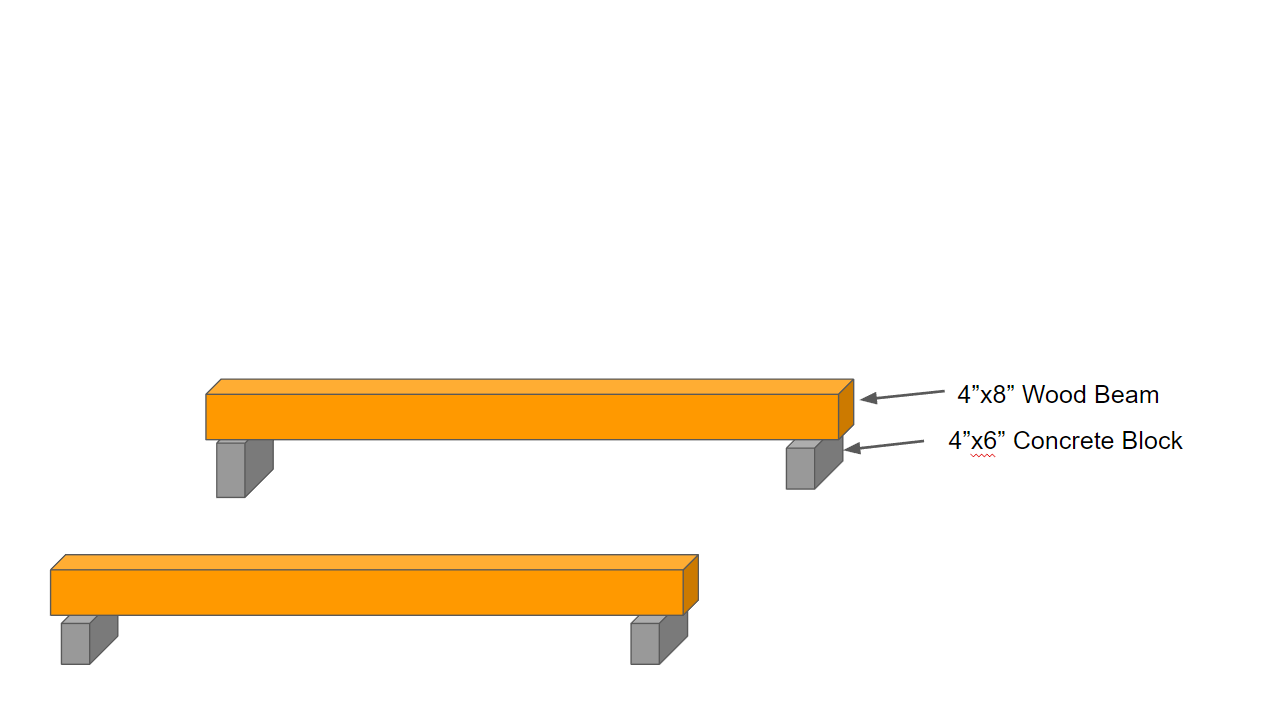
Sticker Stack Lumber Diagram
-
Step 1
-
Step 2
-
Step 3
-
Step 4
-
Step 5
-
Step 6
-
Step 7
-
Step 8
“So excited to start building with this spalted maple! Avery was awesome to work with, and I’m stoked with the wood I’ve brought home. Will be back for more!”


